· Arduino · 3 min read
Managing Arduino Libraries in PlatformIO
Adding Arduino libraries by copying ZIP files can quickly become messy and hard to maintain. PlatformIO makes this process simpler and more reliable with lib_deps: declare your libraries once in the platformio.ini file, and PlatformIO handles installation, updates, and versioning automatically. This post explains how to add libraries using the VS Code extension or manually, and includes an example of displaying text on an OLED screen using the Adafruit SSD1306 library — all without manual copying or hidden dependencies.
If you’ve used the Arduino IDE, you know the routine: find a ZIP file, install it through “Sketch > Include Library,” and hope it works. While this is fine for small sketches, it quickly becomes frustrating as projects grow or when sharing code with collaborators.
PlatformIO offers a modern alternative: managing libraries directly inside your project using the lib_deps option in platformio.ini. This approach makes builds reproducible, keeps libraries organized, and avoids the need to copy ZIP files manually.
In this post, we’ll see why this method is better, how to install libraries using both the PlatformIO extension and manually editing platformio.ini, and finish with a complete example using the popular Adafruit SSD1306 display library.
Why lib_deps beats manual installs
Traditional manual installation in Arduino IDE:
- Download ZIP file → extract → install
- Re-do for every new machine
- Hard to track which version you used
- Collaborators might miss a library or install a different one
PlatformIO’s lib_deps:
- Declare your libraries in
platformio.ini - PlatformIO automatically installs them when you build
- Exact versions can be pinned
- Anyone cloning your repository can build it immediately
Installing libraries with the PlatformIO VS Code extension
If you’re using VS Code with the PlatformIO extension, adding libraries is very straightforward:
- Open your project in VS Code.
- Click on the PlatformIO icon in the Activity Bar on the left.
- Go to Libraries.
- Search for the library you want (e.g., “Adafruit SSD1306”).
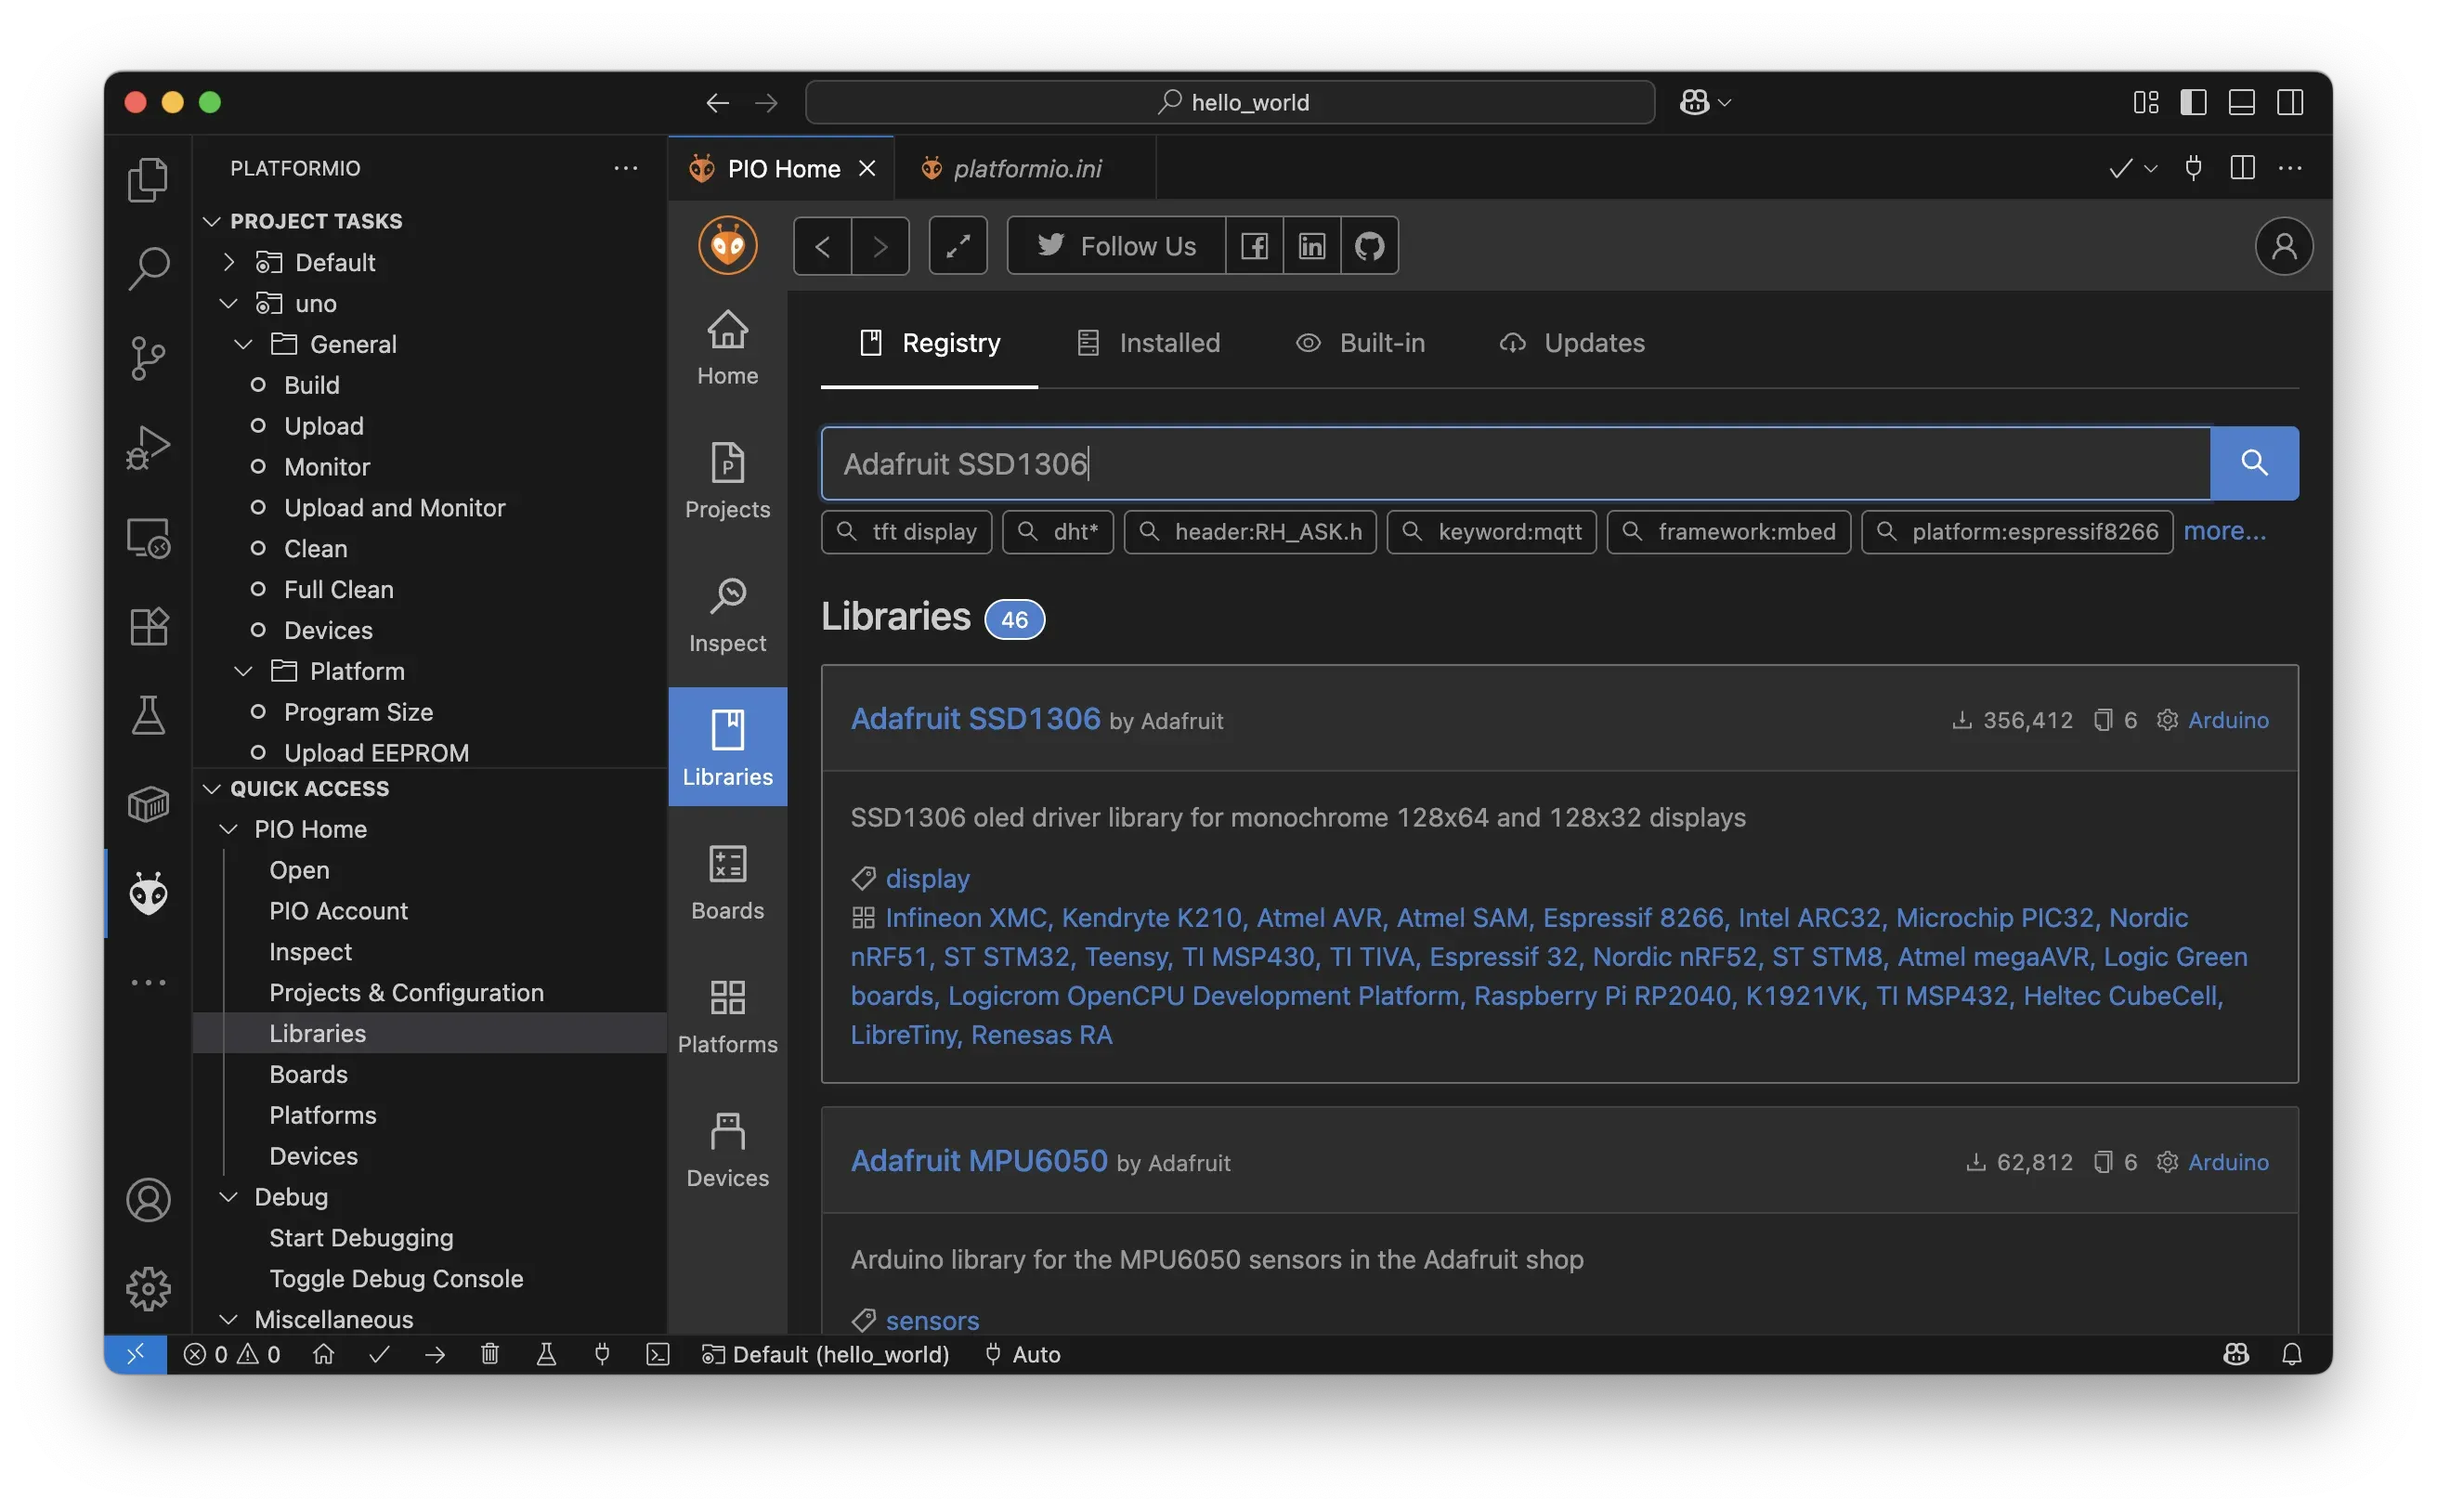
- Click Add to Project, and select your environment (e.g.,
env:uno).
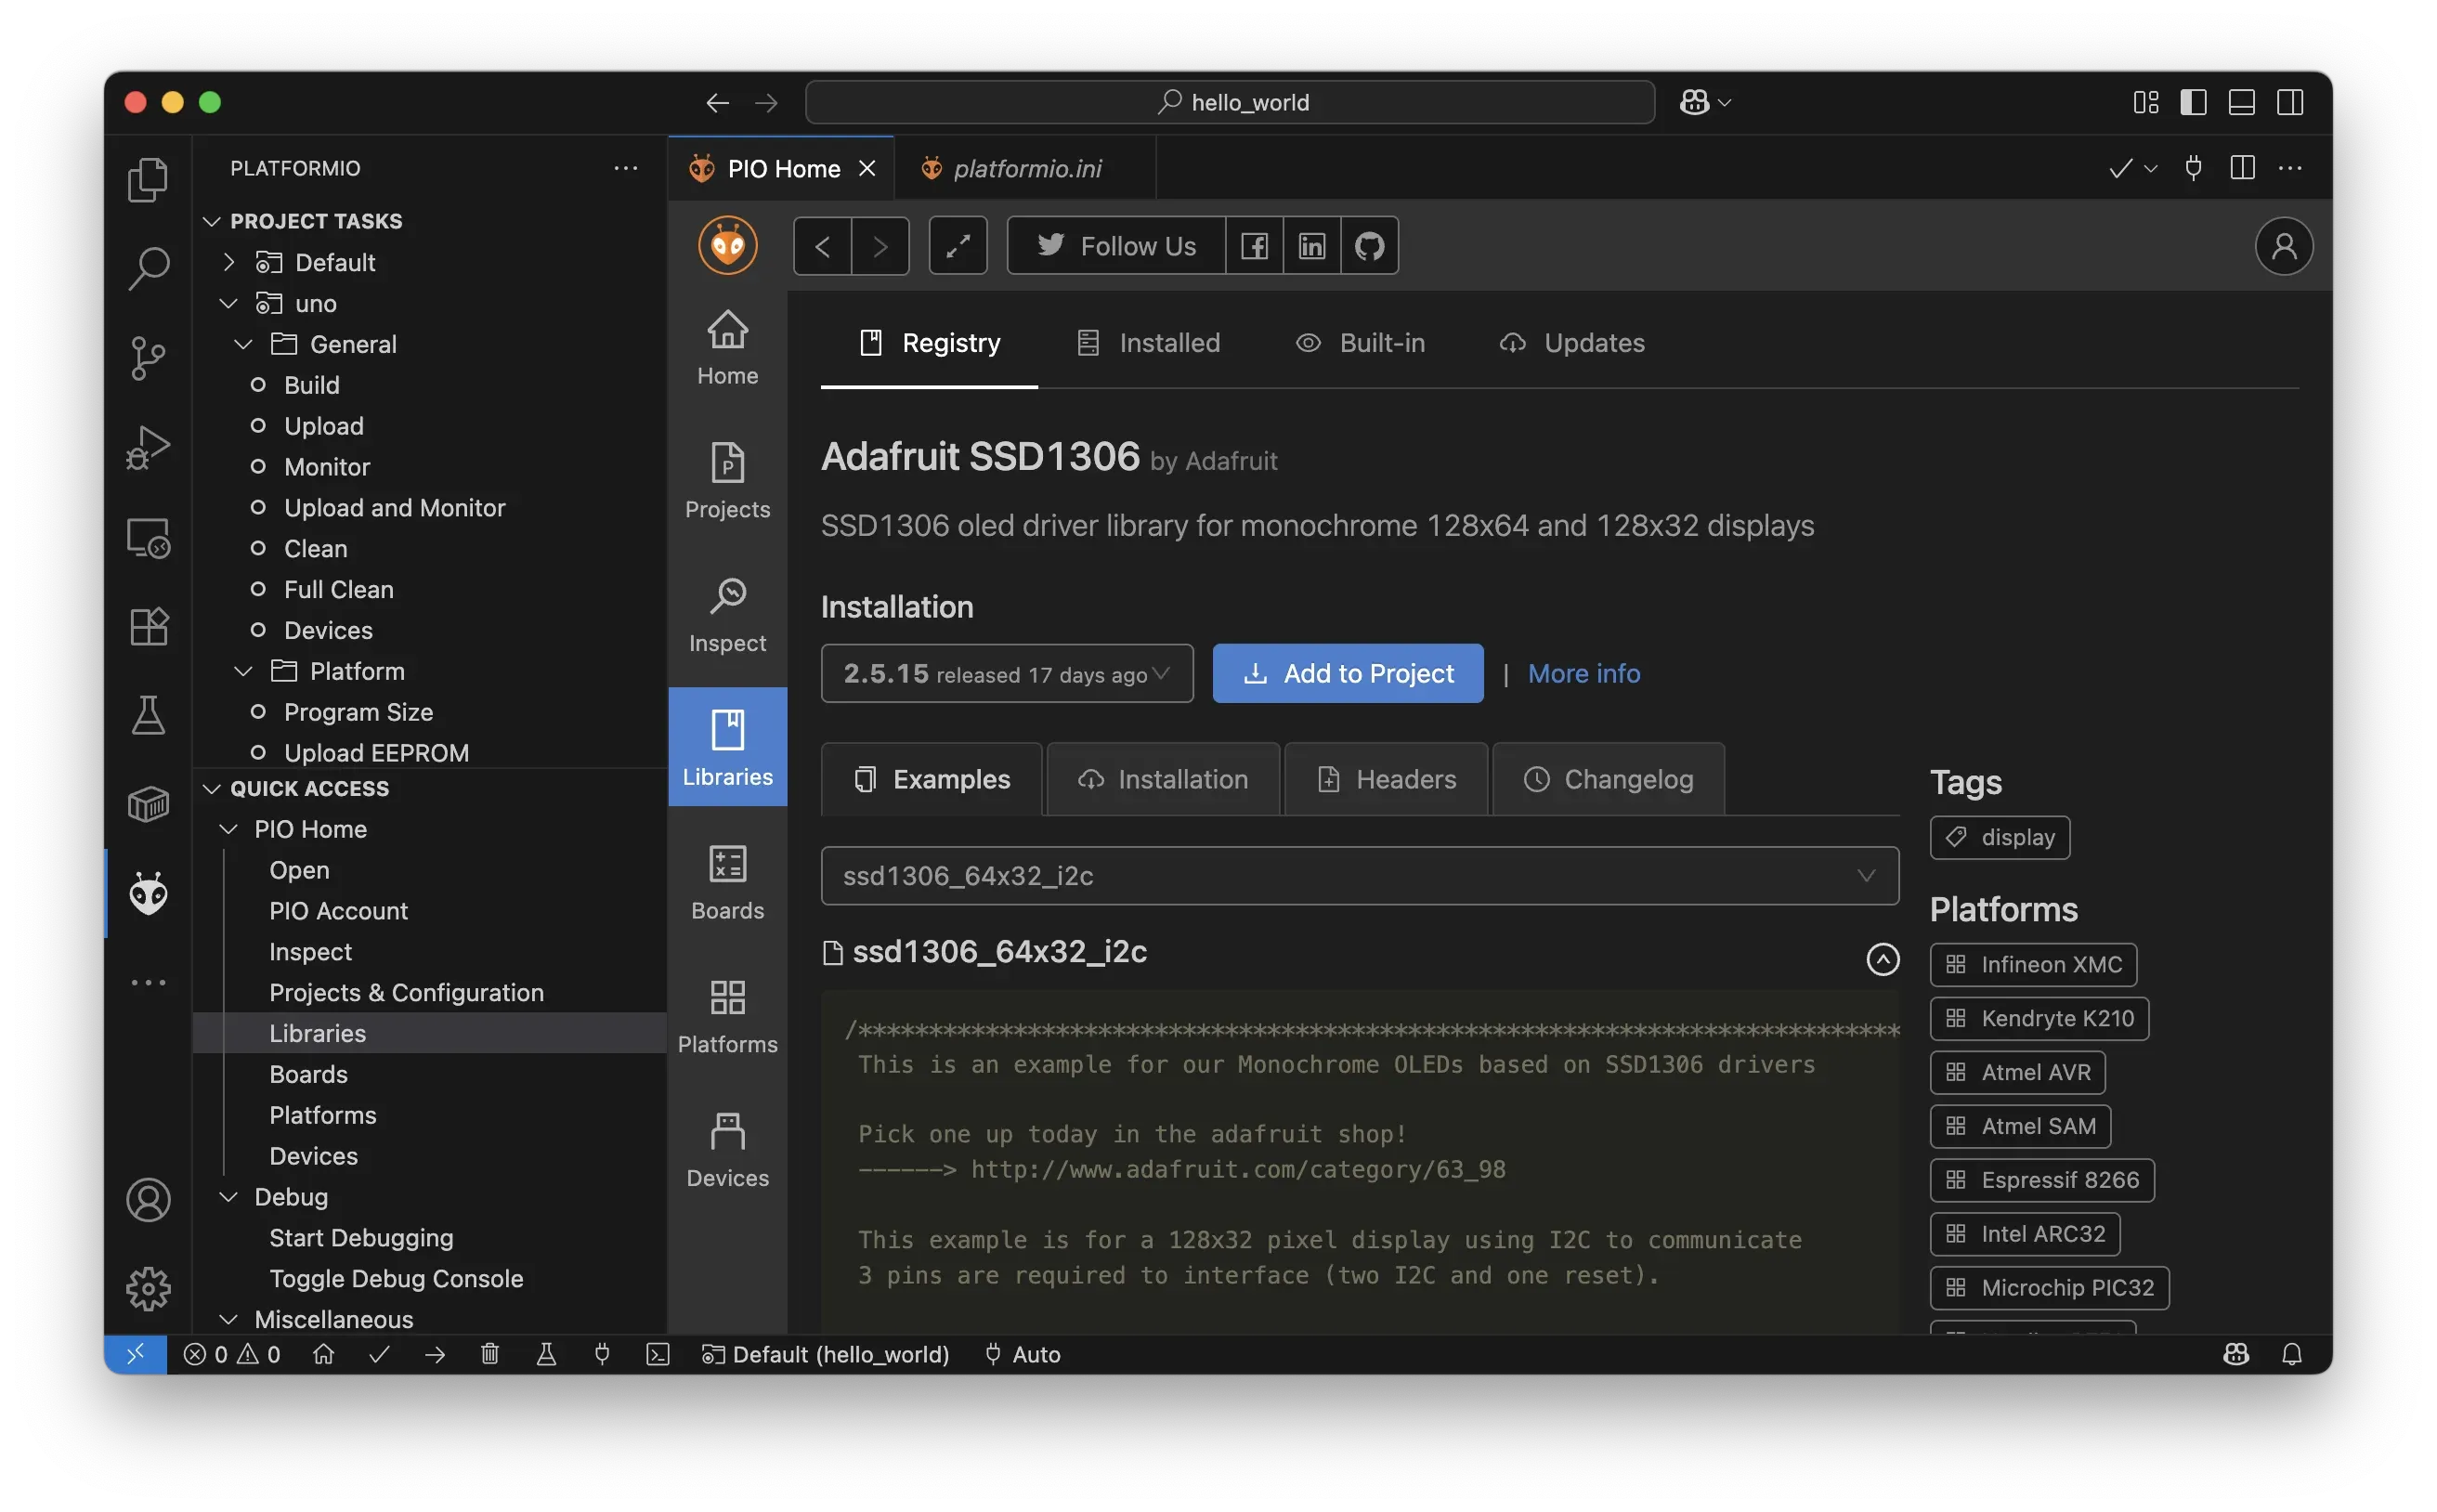
This updates your platformio.ini automatically by adding:
lib_deps = adafruit/Adafruit SSD1306The library is also downloaded from the platformIO registry and saved to .pio folder.
You can now use the library right away in your code.
Installing manually by editing platformio.ini
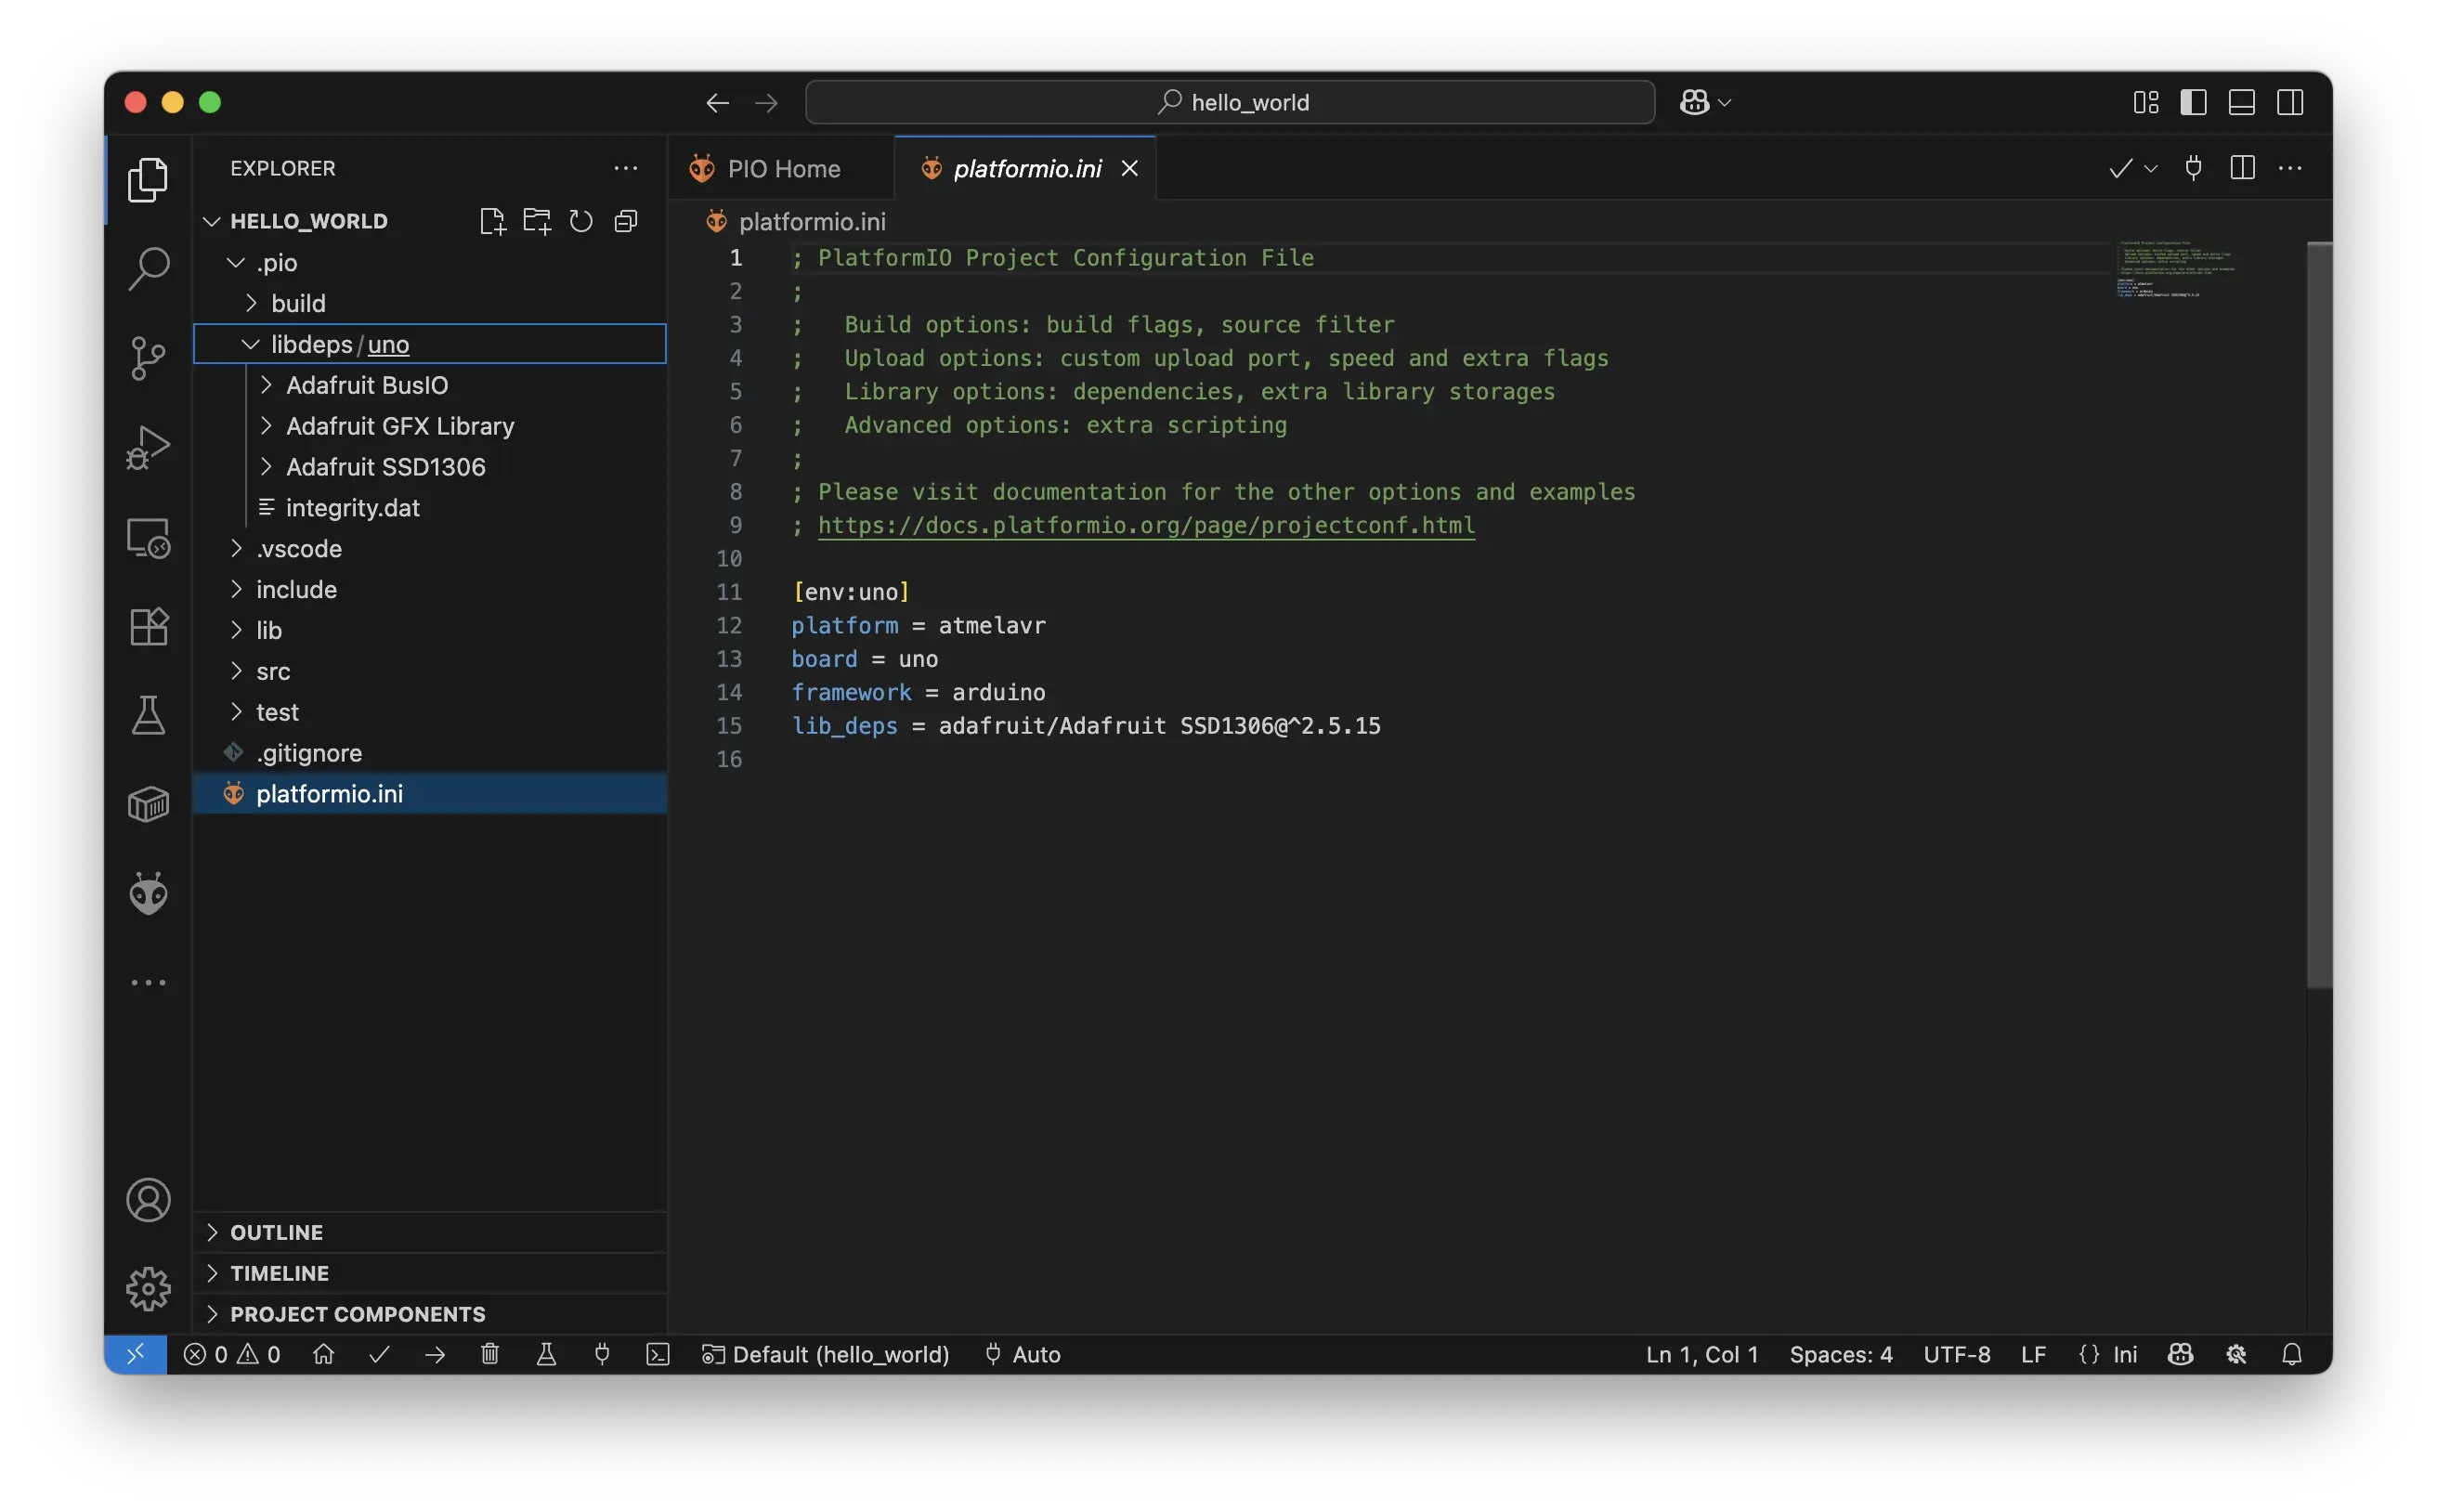
If you prefer, you can edit your platformio.ini file directly. For example:
[env:uno]
platform = atmelavr
board = uno
framework = arduino

lib_deps = adafruit/Adafruit SSD1306
This tells PlatformIO to download and install the Adafruit SSD1306 library when you build.
Using the library in your code
After adding to lib_deps and building the project, use the library like this:
src/main.cpp:
#include <Arduino.h>
#include <Wire.h>
#include <Adafruit_GFX.h>
#include <Adafruit_SSD1306.h>

#define SCREEN_WIDTH 128
#define SCREEN_HEIGHT 64

Adafruit_SSD1306 display(SCREEN_WIDTH, SCREEN_HEIGHT, &Wire, -1);

void setup() {
    Serial.begin(115200);

    if (!display.begin(SSD1306_SWITCHCAPVCC, 0x3C)) {
        Serial.println(F("SSD1306 allocation failed"));
        for (;;); // Halt
    }

    display.clearDisplay();
    display.setTextSize(1);
    display.setTextColor(SSD1306_WHITE);
    display.setCursor(0,0);
    display.println(F("Hello, PlatformIO!"));
    display.display();
}

void loop() {
    display.clearDisplay();
    display.setCursor(0,0);
    display.println(millis() / 1000); // Show elapsed seconds
    display.display();
    delay(1000);
}
Build the project (PlatformIO: Build) and upload — you should see text on the display.
Pinning versions and adding more libraries
You can lock to specific versions for stability:
lib_deps =
    adafruit/Adafruit SSD1306@^2.4.7
Or add custom libraries by Git URL:
lib_deps = https://github.com/yourusername/YourLibrary.gitSummary
Manually installing libraries from ZIP files can become error-prone and hard to maintain. With PlatformIO, you simply declare dependencies once in platformio.ini (using either the VS Code extension or manual editing). PlatformIO keeps your environment reproducible, helps share projects easily, and handles updates consistently.
Using the lib_deps method, your projects stay organized and ready to build on any machine without extra setup.
- arduino
- platformio
- build-systems
- libraries
- dependency-management