· Stm32 · 8 min read
Mastering C++ for Embedded Systems with STM32: Sending Hello World over UART Using PlatformIO
This tutorial introduces modern C++ techniques in embedded development using an STM32 microcontroller and PlatformIO. You'll learn how to send Hello World over UART while applying essential C++ features such as classes, constructors, const, volatile, namespaces, and more. By encapsulating hardware access in a UART class, you'll build cleaner, safer, and more maintainable firmware — all without relying on dynamic memory allocation. Perfect for embedded developers looking to level up their C++ skills and structure their code more effectively.
In embedded systems programming, C has long been the dominant language due to its simplicity and close-to-the-metal control. However, modern embedded development increasingly benefits from the features of C++, which provides cleaner abstractions, better type safety, and more maintainable code — all while maintaining the performance and efficiency required in resource-constrained environments.
This tutorial bridges the gap between embedded hardware and modern C++ programming by walking you through a simple but complete STM32 project using PlatformIO: sending “Hello World” over UART. Along the way, you will learn how to use important C++ features such as classes, structs, constructors and destructors, namespaces, const, volatile, templates, inline functions, and why you should avoid dynamic memory allocation in embedded systems.
This guide is written for developers who have some basic knowledge of C or C++, and are looking to apply that knowledge in embedded projects using STM32 microcontrollers.
Introduction to the Project
The goal of this project is to build a minimal embedded application for an STM32 Nucleo board that sends the string Hello World over UART to a serial terminal on your PC. To keep things structured and scalable, we will use modern C++ practices, encapsulating the UART logic in a class and using PlatformIO as the build system and project environment.
The board used in this tutorial is the STM32 Nucleo-L433RC-P, but the code is easily portable to other STM32 families. The code is written using the STM32Cube HAL and CMSIS libraries provided by STMicroelectronics.
We will use the PlatformIO extension for Visual Studio Code, which provides an excellent developer experience for embedded projects. The same code can be adapted to STM32CubeIDE or bare Makefiles, but PlatformIO simplifies the configuration and compilation.
Setting Up the Development Environment
Before diving into the code, make sure you have the following tools installed:
- Visual Studio Code
- PlatformIO extension
- STM32 Nucleo board (e.g., Nucleo-L433RC-P)
- USB cable for power and UART communication
- A serial terminal application (PlatformIO Serial Monitor, PuTTY, TeraTerm)
Once everything is installed, create a new PlatformIO project targeting your STM32 board. In VS Code:
- Open the Command Palette (Ctrl+Shift+P)
- Choose “PlatformIO: New Project”
- Name the project
uart_demo - Choose
Nucleo L433RC-Pas the board - Select
STM32Cubeas the framework - Click “Finish” and wait for PlatformIO to generate the project structure
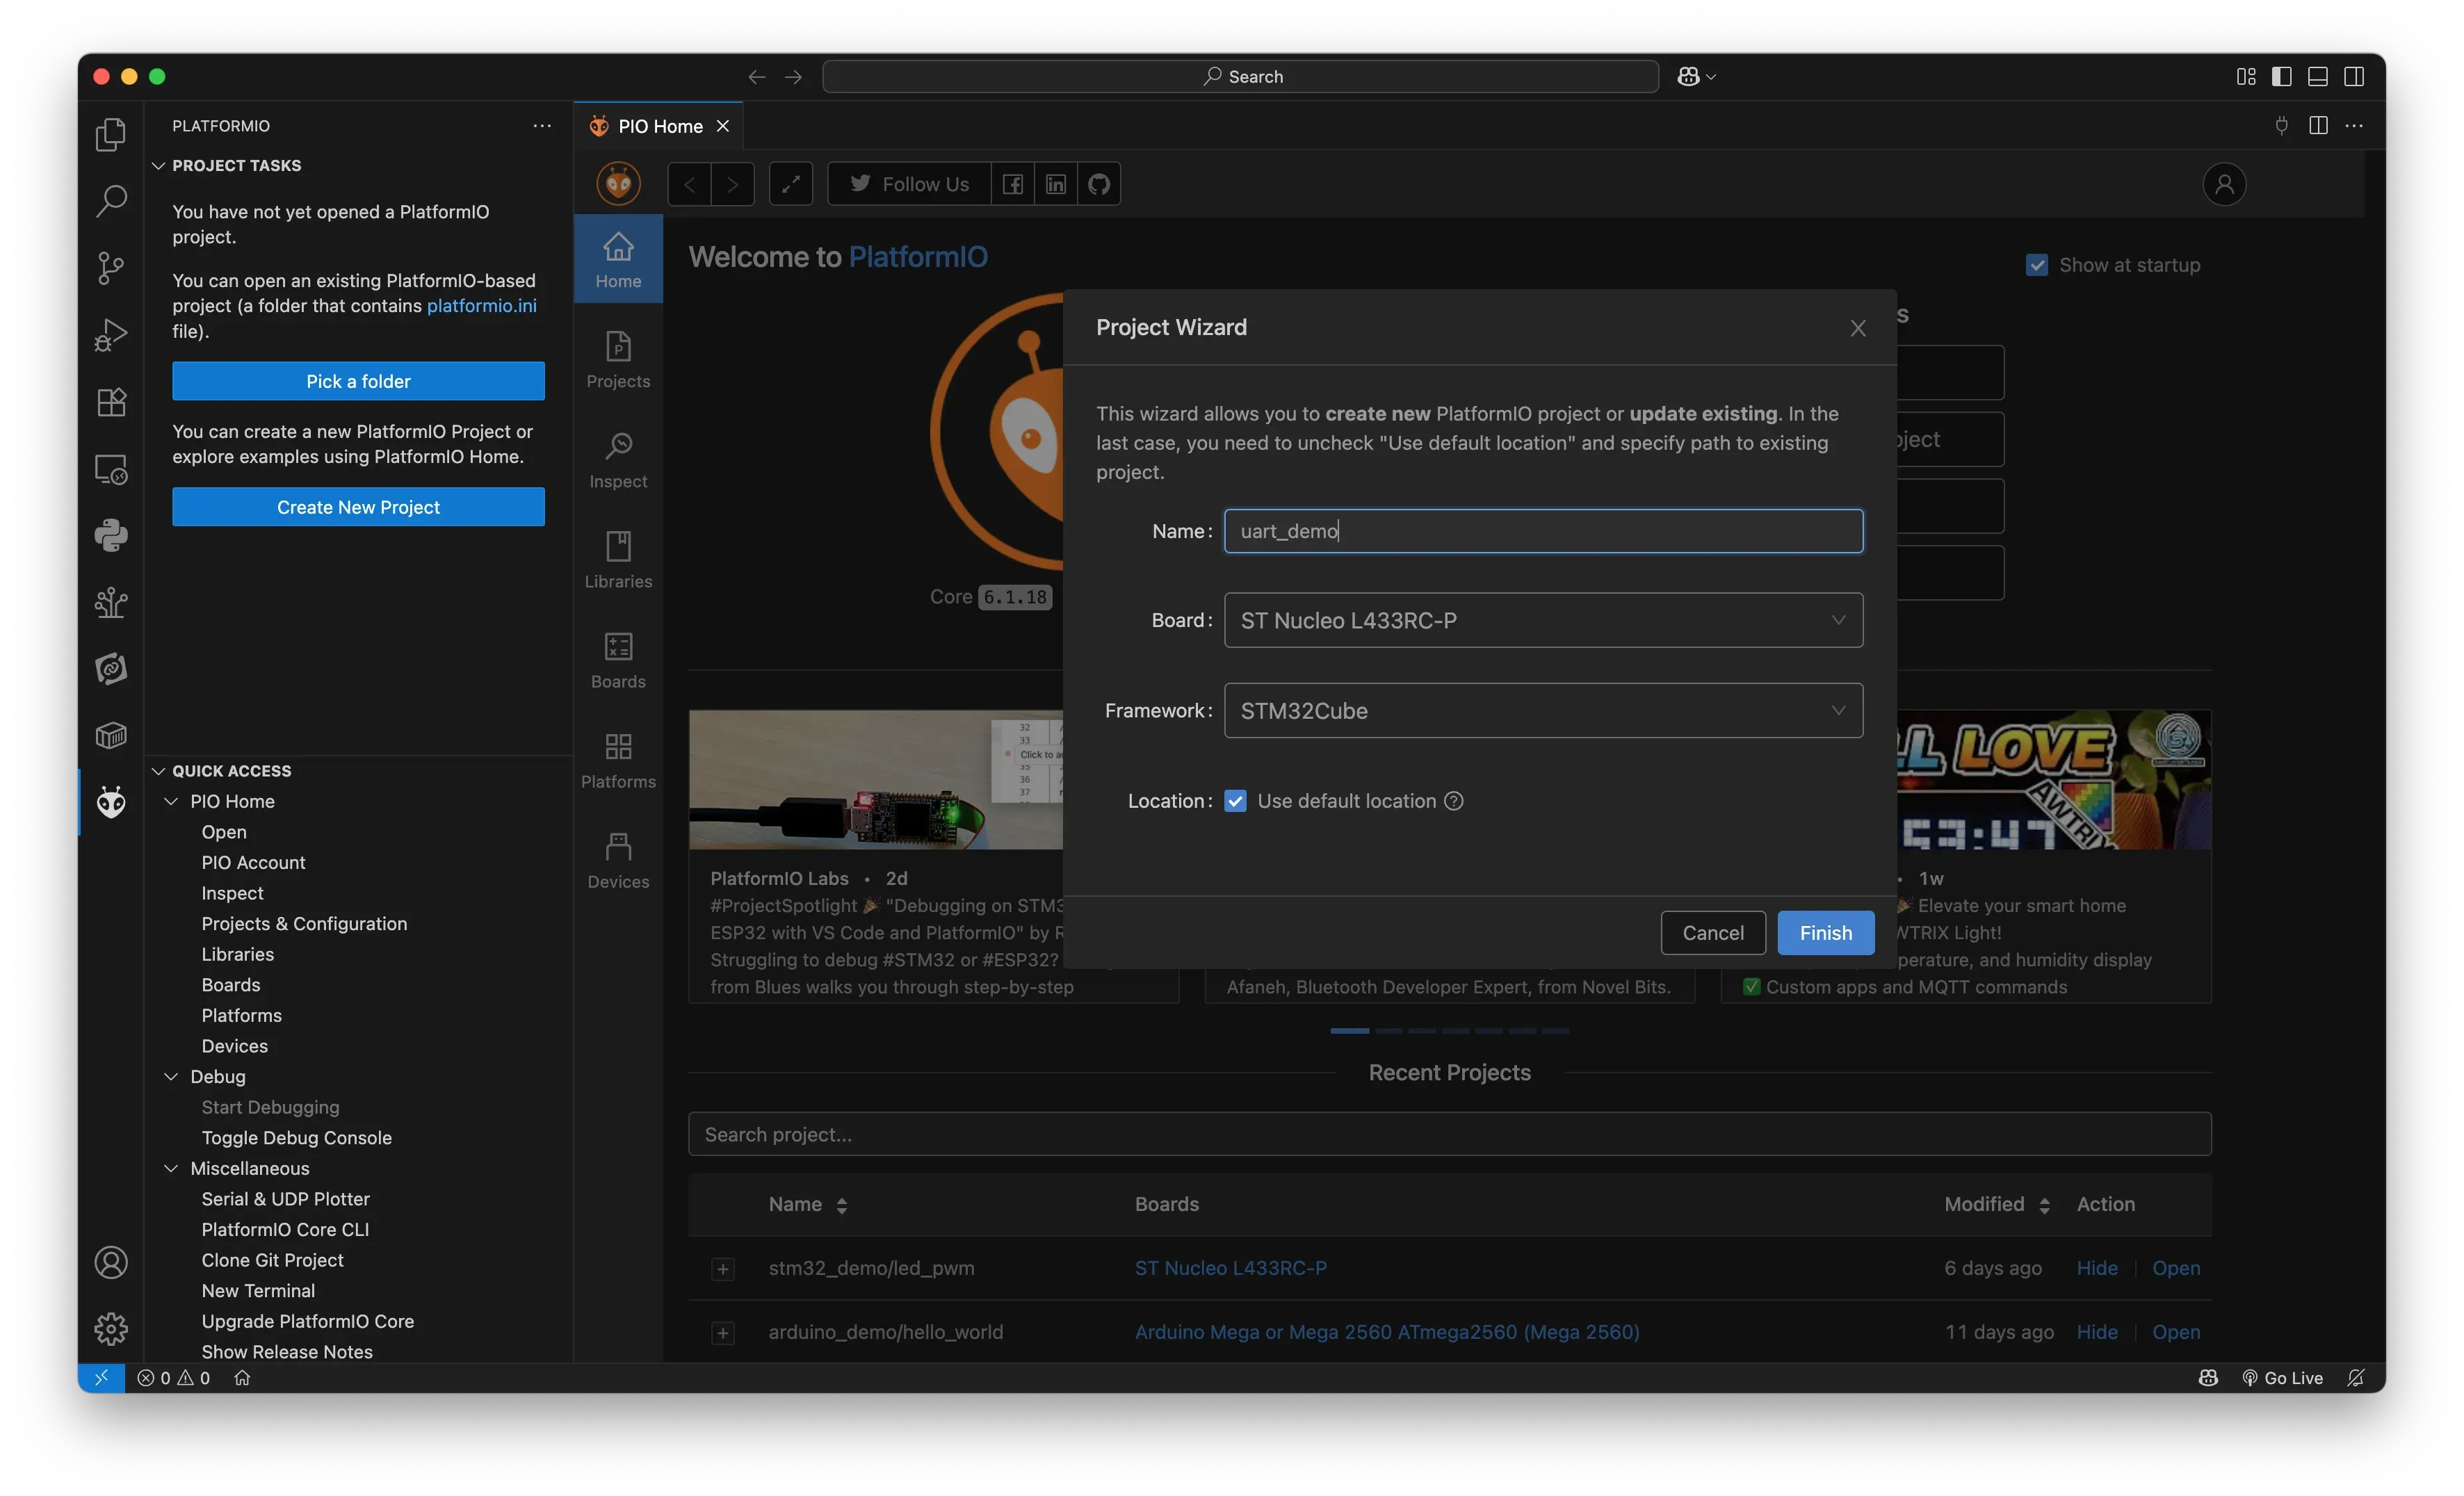
Modify platformio.ini to enable C++17:
[env:nucleo_l433rc_p]
platform = ststm32
board = nucleo_l433rc_p
framework = stm32cube
build_flags = -std=c++17
Understanding the Project Structure
PlatformIO will create a src/ folder for your application code. For clarity and maintainability, we’ll divide the code into multiple files:
main.cpp: The main entry point of the applicationuart.h: The UART class headeruart.cpp: The UART class implementation
This is a small but realistic structure for embedded applications. As your project grows, you can organize drivers and subsystems into their own modules using C++ namespaces.
Writing the UART Class
Instead of using raw functions scattered throughout the code, we encapsulate the UART logic inside a C++ class. This makes the code easier to understand, reuse, and test. Let’s start with the class definition.
uart.h
#pragma once

#include "stm32l4xx.h"

namespace hal {

class Uart {
public:
    Uart(USART_TypeDef* instance, uint32_t baudrate);
    void init();
    void sendChar(char c);
    void sendString(const char* str);

private:
    USART_TypeDef* usart;
    uint32_t baud;
    void configureGPIO();
};

} // namespace hal
Concepts Introduced:
class: Encapsulation of UART functionality into a reusable modulenamespace: Used to logically group the class underhal(Hardware Abstraction Layer)- Constructor: Initializes UART instance and baud rate
private: Hides internal implementation details- Header guards via
#pragma once
This class provides an interface for sending characters and strings over UART. It accepts a pointer to a USART peripheral and a baud rate as parameters.
Implementing the UART Logic
Now let’s implement the functions declared above.
uart.cpp
#include "uart.h"

namespace hal {

Uart::Uart(USART_TypeDef* instance, uint32_t baudrate)
    : usart(instance), baud(baudrate) {}

void Uart::init() {
    configureGPIO();

    // Enable USART2 clock (APB1ENR1)
    RCC->APB1ENR1 |= RCC_APB1ENR1_USART2EN;

    // Set baud rate
    usart->BRR = SystemCoreClock / baud;

    // Enable transmitter
    usart->CR1 |= USART_CR1_TE;

    // Enable USART
    usart->CR1 |= USART_CR1_UE;
}

void Uart::sendChar(char c) {
    while (!(usart->ISR & USART_ISR_TXE));
    usart->TDR = c;
}

void Uart::sendString(const char* str) {
    while (*str) {
        sendChar(*str++);
    }
}

void Uart::configureGPIO() {
    // Enable GPIOA clock (AHB2ENR)
    RCC->AHB2ENR |= RCC_AHB2ENR_GPIOAEN;

    // Configure PA2 as Alternate Function mode
    GPIOA->MODER &= ~(0x3 << (2 * 2)); // Clear bits
    GPIOA->MODER |=  (0x2 << (2 * 2)); // Set AF mode (10)

    // Optional: set output type, speed, pull-up/down
    GPIOA->OTYPER &= ~(1 << 2);        // Push-pull
    GPIOA->OSPEEDR |= (0x3 << (2 * 2));// Very high speed
    GPIOA->PUPDR &= ~(0x3 << (2 * 2)); // No pull-up/down

    // Select AF7 for PA2 (USART2_TX)
    GPIOA->AFR[0] &= ~(0xF << (4 * 2));  // Clear
    GPIOA->AFR[0] |=  (0x7 << (4 * 2));  // AF7
}


} // namespace hal
Concepts Reinforced:
- Constructor initializer list (
: usart(instance), baud(baudrate)) is used for efficiency - Low-level register access using STM32 HAL and CMSIS definitions
- Polling method for sending data
- Private helper
configureGPIO()handles pin configuration for TX (PA2)
Note: No new or delete is used. We allocate all objects statically to avoid heap fragmentation, a common issue in embedded systems.
The Main Application Logic
Finally, let’s put everything together in the main program.
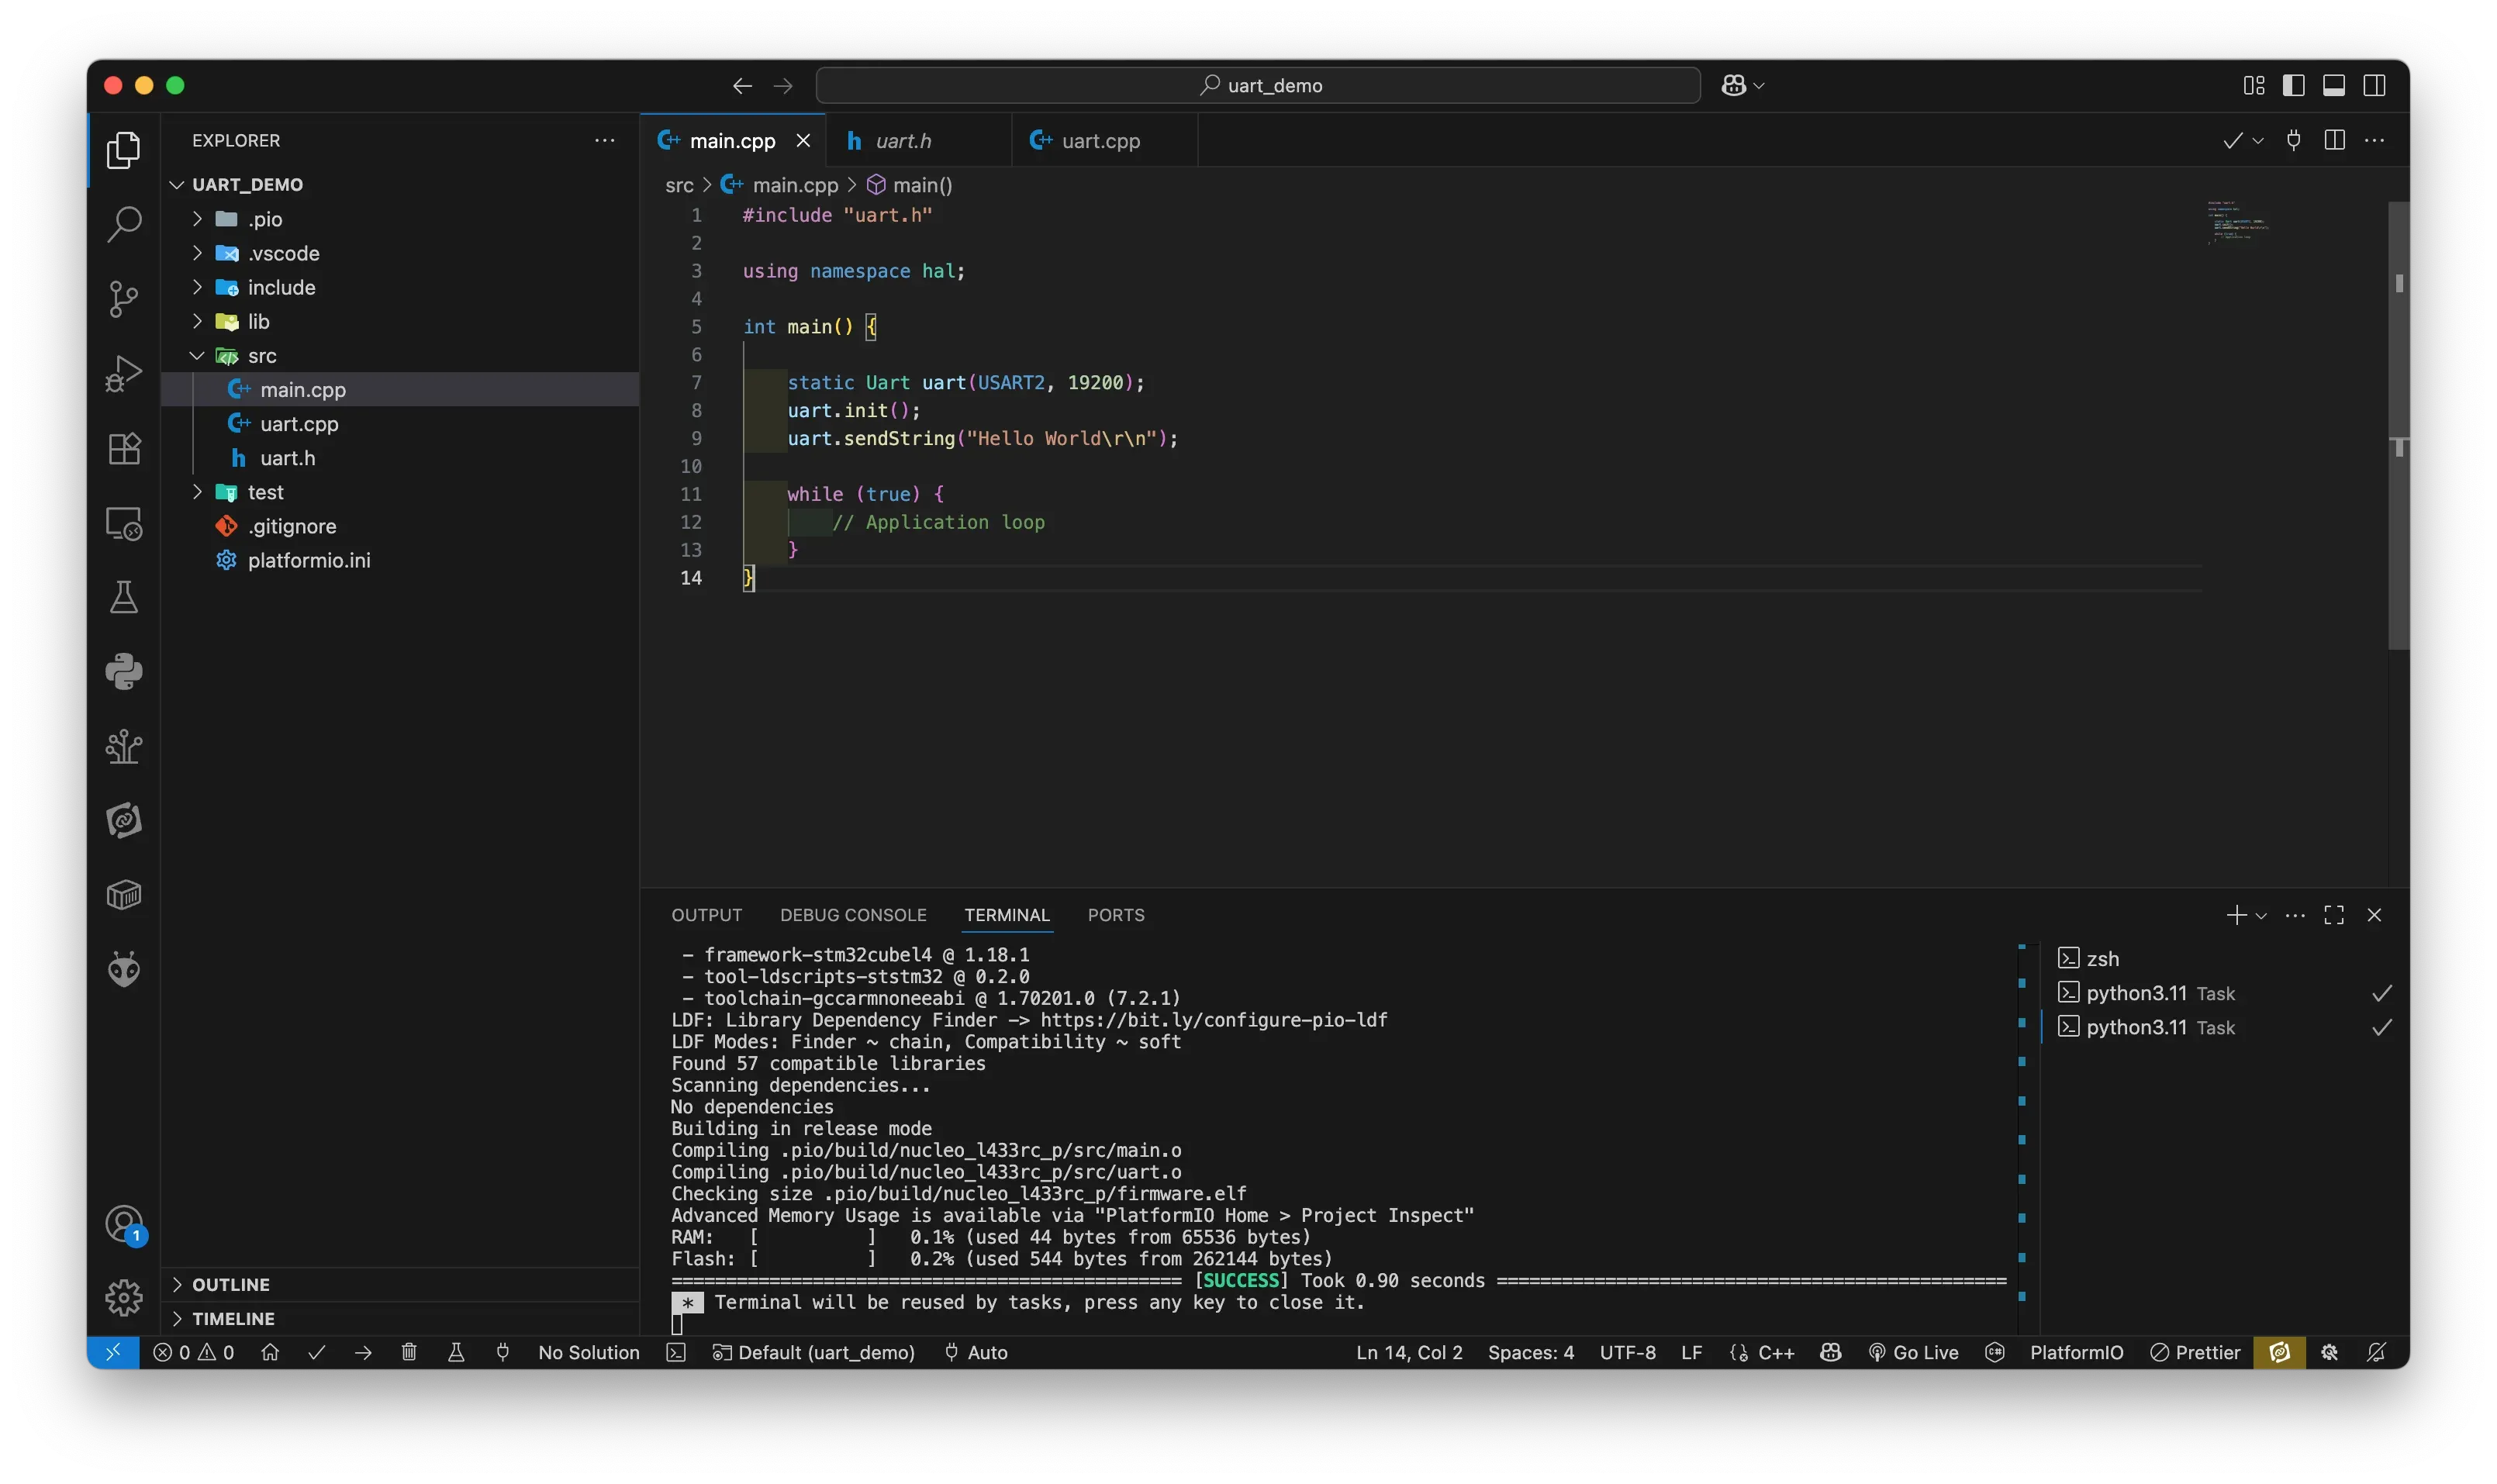
main.cpp
#include "uart.h"

using namespace hal;

int main() {

    static Uart uart(USART2, 19200);
    uart.init();
    uart.sendString("Hello World\r\n");

    while (true) {
        // Application loop
    }
}
Full project code can be found on Github.
Analysis
- The
statickeyword ensures thatuartremains valid for the lifetime of the program and limits visibility to themainfunction. using namespace hal;brings the UART class into scope.- The constructor sets up the hardware instance and baud rate. The
init()method performs GPIO configuration and enables the USART peripheral. sendString()writes characters one by one over the UART port.
Deep Dive into C++ Concepts
Now that the project is working, let’s explore the important C++ concepts used and why they matter in embedded programming.
1. Classes and Encapsulation
C++ classes allow you to group related functionality and state together. In embedded systems, this can represent hardware peripherals like UART, I2C, SPI, GPIO, ADC, etc.
Encapsulation improves code maintainability and reuse. You can easily change the internal implementation of a class without affecting the rest of your program.
2. Structs vs. Classes
In C++, both struct and class can contain member functions and variables. The only difference is default access specifiers (public for struct, private for class).
Use struct for simple data containers and class when encapsulating logic or behavior.
3. Constructors and Destructors
Constructors are special functions automatically called when an object is created. In this case, our constructor initializes hardware parameters.
Destructors are usually unnecessary in embedded systems unless you’re managing resources like buffers or files. Since embedded systems rarely “terminate,” destructors are seldom used.
4. Const and Volatile
const: Declares a variable as immutable. Use it to protect against accidental modification.const uint32_t baud = 9600;volatile: Tells the compiler that a variable may change at any time (e.g., a hardware register). Prevents optimization that could remove important reads or writes.volatile uint32_t* status = &USART2->SR;
5. Namespaces
Namespaces help organize code and prevent naming conflicts. They are particularly useful in embedded systems to group different hardware abstraction layers (e.g., hal::, app::, utils::).
6. Static and Symbol Visibility
Using static for variables or functions inside a file limits their scope to that file. This reduces symbol pollution and avoids naming conflicts.
static int internal_counter = 0;7. Inline Functions
Inline functions avoid the overhead of function calls by replacing the function call with the actual code at compile time.
inline void toggleLED() {
    GPIOA->ODR ^= (1 << 5);
}
Use inline judiciously, especially in performance-critical code.
8. Templates (Basic Usage)
Templates allow writing generic code that works with different data types. In embedded systems, templates are useful for writing reusable drivers.
Example:
template <typename T>
T max(T a, T b) {
    return (a > b) ? a : b;
}
Why Avoid Dynamic Memory (new/delete)
Dynamic memory allocation using new and delete is discouraged in embedded firmware for several reasons:
- Memory Fragmentation: Over time, allocating and freeing different sized memory blocks fragments the heap.
- Non-deterministic Behavior: Heap operations take unpredictable time, violating real-time constraints.
- Limited RAM: Most microcontrollers have very small RAM (often under 128 KB), unsuitable for heap-intensive operations.
- Stability: Failed allocations can crash or hang the system if not handled properly.
Instead, prefer:
- Static or stack allocation
- Fixed-size buffers
- Placement new (for advanced usage only in certain embedded RTOS environments)
Conclusion
This tutorial demonstrated how to build a clean, maintainable embedded project for STM32 using C++ features. By sending a simple “Hello World” string over UART, you learned how to use C++ classes, constructors, const, volatile, inline functions, and templates — all in the context of low-level embedded hardware control.
Key takeaways:
- Structure your embedded firmware with C++ classes and namespaces
- Use
const, andvolatilecorrectly for registers and constants - Avoid dynamic memory in embedded systems to ensure stability and predictability
- Inline and static functions can improve performance and maintainability
- PlatformIO with STM32Cube and C++17 provides a modern toolchain for embedded development
By applying these principles to other peripherals (I2C, SPI, ADC), you can scale your projects efficiently using modern C++ without losing control over the hardware.
- platformio
- stm32
- embedded-c
- uart
- stm32cube
- c-for-embedded-systems
- modern-c
- microcontroller-programming
- hardware-abstraction-layer
- real-time-systems