· Arduino · 5 min read
PlatformIO Project Structure Explained for Arduino Users
Moving beyond Arduino’s single `.ino` sketch, PlatformIO introduces a structured project layout designed for scalability and professional development. This post explores what each folder means — from `src/` for your main source code, `lib/` for private libraries, and `include/` for shared headers, to the powerful `platformio.ini` configuration file. Learn how this structure helps organize larger projects, simplifies dependency management, and makes your builds reproducible — and see why many Arduino users find it worth the switch.
Many Arduino users eventually reach a point where the classic single .ino file starts to feel limiting. Perhaps your project has grown larger, or you’d like to organize it better and manage libraries cleanly. You may have heard of PlatformIO — a powerful open-source ecosystem that brings modern development practices, robust library management, and support for hundreds of boards and frameworks.
One of the first differences you’ll notice when switching from the Arduino IDE to PlatformIO is the project structure. Instead of everything living in a single .ino sketch, you’ll find folders like src/, lib/, include/, and a configuration file called platformio.ini.
In this post, we’ll explore what each part of a PlatformIO project does, why it matters, and how it compares to the simpler but less scalable Arduino approach.
Why move beyond a single .ino file
The classic Arduino workflow is based around writing code in a single .ino file inside a sketch folder. This approach works well for small projects and learning. However, as your project becomes more complex, you might encounter several limitations:
- It becomes harder to separate code into reusable parts.
- Managing external libraries is manual and sometimes messy.
- Sharing or reproducing the same build on another computer isn’t straightforward.
- Configuration lives outside the project and must be re-selected in the IDE.
PlatformIO solves these issues by encouraging a well-defined, scalable project structure — similar to what professional embedded developers use.
The PlatformIO project layout
When you create a new PlatformIO project, you typically see something like this:
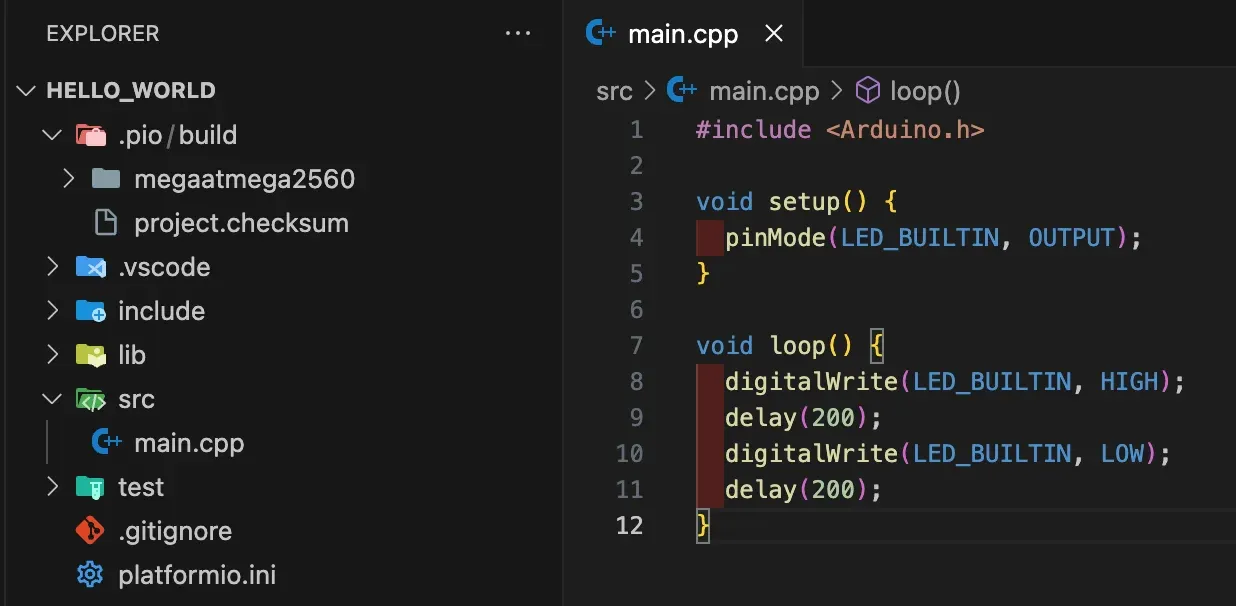
Each folder and file serves a purpose. Let’s look at them in detail.
src/: The main source code
This is the core of your application.
- Place your main code files here.
- By default, PlatformIO looks for an entry point named
main.cpp. - As your project grows, you can add more
.cppfiles in this folder.
Comparison with Arduino
In the Arduino IDE, your project consists of a single MyProject.ino file. The IDE automatically generates function prototypes and handles some behind-the-scenes linking.
In PlatformIO, you write standard C++ files and must include the necessary headers explicitly. For example:
#include <Arduino.h>

void setup() {
    // Setup code
}

void loop() {
    // Main loop
}
This gives you complete control over structure and allows you to apply best practices from C++.
lib/: Private libraries specific to your project
The lib/ folder holds libraries that you write or modify yourself, and that are only meant for this project.
Each subfolder inside lib/ is treated as an independent library. For example:
lib/
├── SensorDriver/
│   ├── SensorDriver.cpp
│   └── SensorDriver.h
└── DisplayUI/
    ├── DisplayUI.cpp
    └── DisplayUI.h
PlatformIO automatically compiles and links these libraries with your project.
In the Arduino IDE, this kind of modularization is possible, but less natural and often requires manual steps. With PlatformIO, it becomes part of your workflow.
include/: Project-level header files
This folder contains header files (.h) shared across your project.
Typical uses include:
- Configuration files.
- Global constants or macros.
- Interface definitions.
For example, you might place a file here named config.h containing project-wide settings:
#define SENSOR_UPDATE_INTERVAL 500
#define DEVICE_NAME "WeatherStation"
And then include it from any .cpp file:
#include "config.h"platformio.ini: The project configuration file
This file is central to your PlatformIO project.
It specifies:
- Target board and platform.
- Framework to use (such as Arduino, ESP-IDF, etc.).
- Library dependencies.
- Build flags and custom options.
Example content:
[env:uno]
platform = atmelavr
board = uno
framework = arduino

lib_deps =
    adafruit/Adafruit SSD1306
    bblanchon/ArduinoJson@6.18.5
Unlike the Arduino IDE, where board and library selections are stored outside the sketch, platformio.ini makes your entire project portable and reproducible. Anyone cloning your repository can build the project with the same settings.
test/: Automated tests
For advanced projects, the test/ folder holds unit tests.
PlatformIO supports popular testing frameworks, allowing you to write tests that run on your computer (host testing) or on your actual embedded device.
Example:
test/
└── test_sensordriver.cpp
For many hobby projects, testing might seem optional. But as your project grows, having tests helps catch bugs and makes refactoring safer.
.pio/: Build artifacts and internal files
This folder is automatically created when you build your project.
- Contains compiled object files and other temporary data.
- Normally ignored in version control systems (add to
.gitignore).
You usually never need to interact with this folder directly.
Managing external libraries
PlatformIO offers powerful tools to add and manage external libraries:
- Use the
lib_depsfield inplatformio.inito specify libraries, and PlatformIO will automatically fetch them. - Install libraries manually using the command line with
pio lib install.
These libraries are downloaded and cached globally, meaning you don’t have to copy them manually into each project.
In the Arduino IDE, you typically install libraries via a zip file or the Library Manager, and the selection isn’t directly tied to each sketch.
Writing your first main.cpp
A simple example placed in src/main.cpp:
#include <Arduino.h>

void setup() {
    Serial.begin(9600);
    pinMode(LED_BUILTIN, OUTPUT);
}

void loop() {
    Serial.println("Hello from PlatformIO!");
    digitalWrite(LED_BUILTIN, HIGH);
    delay(500);
    digitalWrite(LED_BUILTIN, LOW);
    delay(500);
}
This is similar to an Arduino sketch, except you include Arduino.h explicitly.
Structuring larger projects
As your project grows, you can:
- Move reusable modules to
lib/. - Add helper functions and new
.cppfiles insrc/. - Place shared definitions or configuration files in
include/.
Example structure:
MyProject/
├── include/
│   └── config.h
├── lib/
│   ├── SensorDriver/
│   │   ├── SensorDriver.cpp
│   │   └── SensorDriver.h
│   └── DisplayUI/
│       ├── DisplayUI.cpp
│       └── DisplayUI.h
├── src/
│   ├── main.cpp
│   └── utils.cpp
├── platformio.ini
└── test/
This separation helps keep your code clean, modular, and maintainable.
Summary: Arduino IDE vs. PlatformIO
| Feature | Arduino IDE | PlatformIO |
|---|---|---|
| Main code | Single .ino file | Multiple .cpp files in src/ |
| Config | Stored in IDE UI | platformio.ini file |
| Private libraries | Hard to isolate | lib/ folder |
| Shared headers | Manual | include/ folder |
| Tests | Not integrated | Built-in test/ folder |
| Build system | Arduino builder | Modern toolchain with dependency management |
Conclusion
PlatformIO’s structure might look complex at first compared to the simplicity of a single .ino sketch. However, it brings significant benefits:
- Better organization of larger projects.
- Modern build tools and reproducible builds.
- Integrated library and dependency management.
- Easier collaboration and version control.
Once you get used to the src/, lib/, include/, and platformio.ini layout, it becomes a natural way to develop larger, cleaner, and more maintainable Arduino projects.
- arduino
- platformio
- embedded-development
- c
- build-systems
- project-organization